a. Carry out a remote session without prior planning
You have decided to start a remote session with a Service User or a colleague using audio, video or using an instant messaging chat.
In this case, you will inform the the person you will connect with, that s/he will receive a session link by SMS, What'sApp or by email so that you may have a session via a secure video or audio call or can write message in a chat.
Here is an example of how it works.
Advice :
If you don't have an access yet, please refer to your Health Program Coordinator or TeleConnect focal person.
The connection is then made through your ICRC credentials.
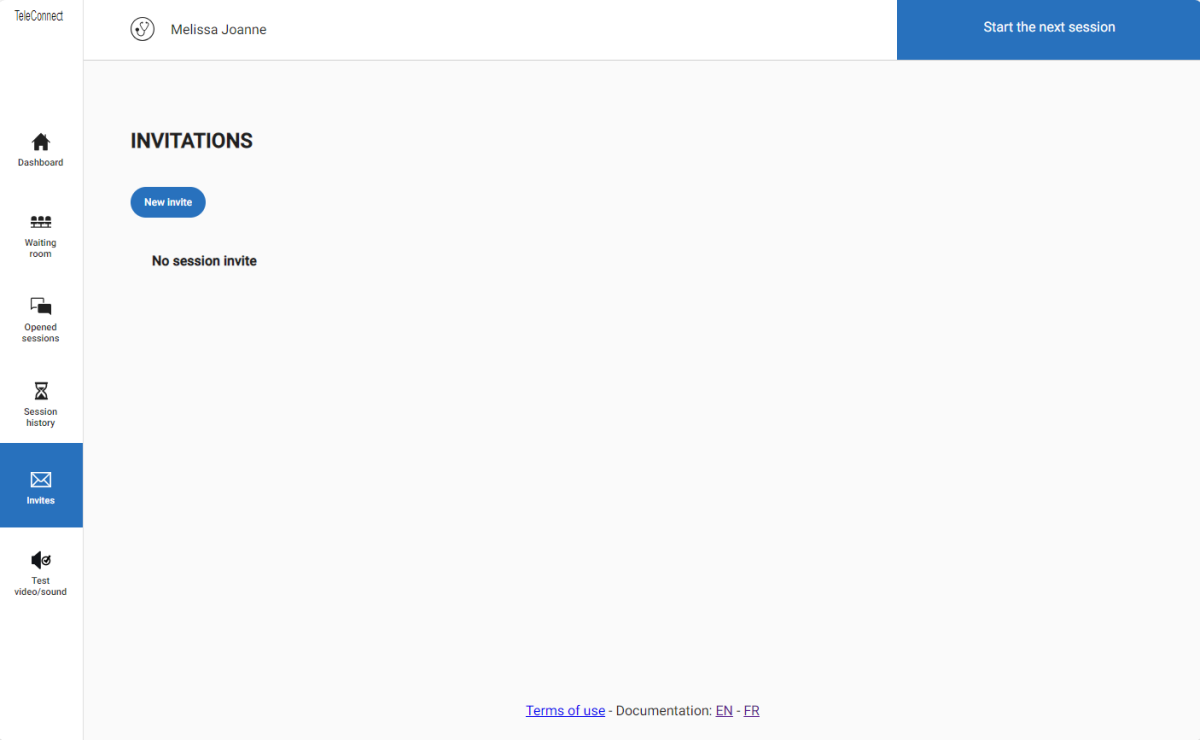
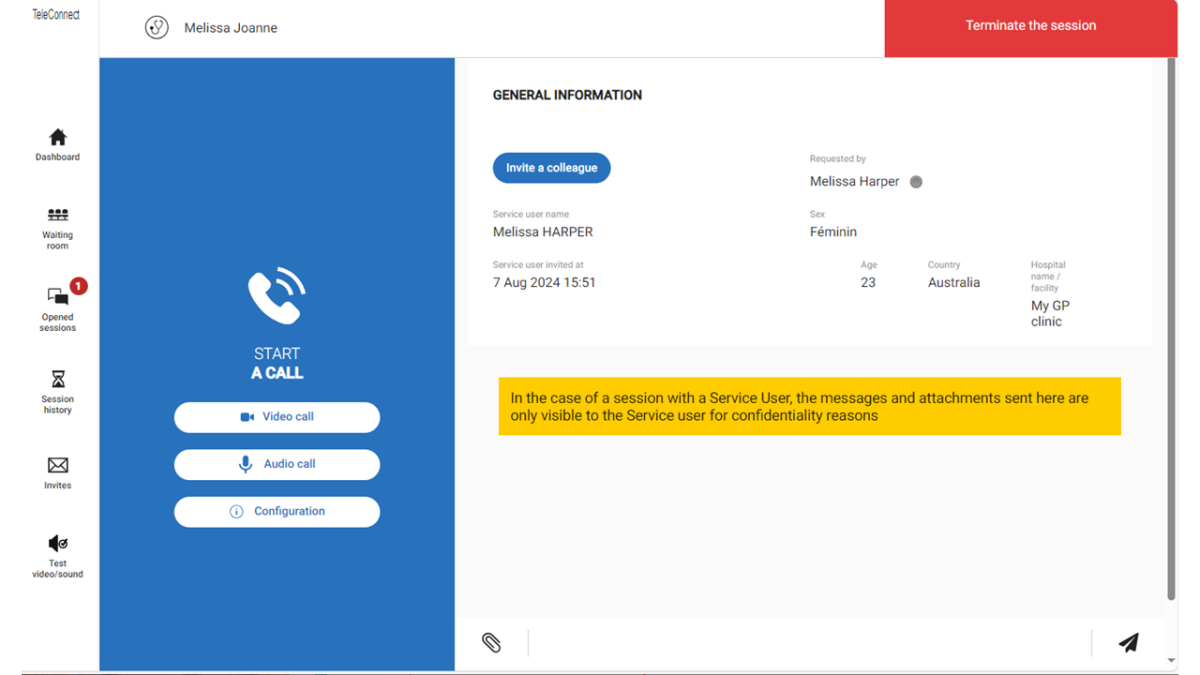
You will land on the Homepage as below:
Step 2: Create the session⚓
From the Menu "Invites", you click on the button "New invite"
Then, from the window that will pop up, you will select "Remote" service user.
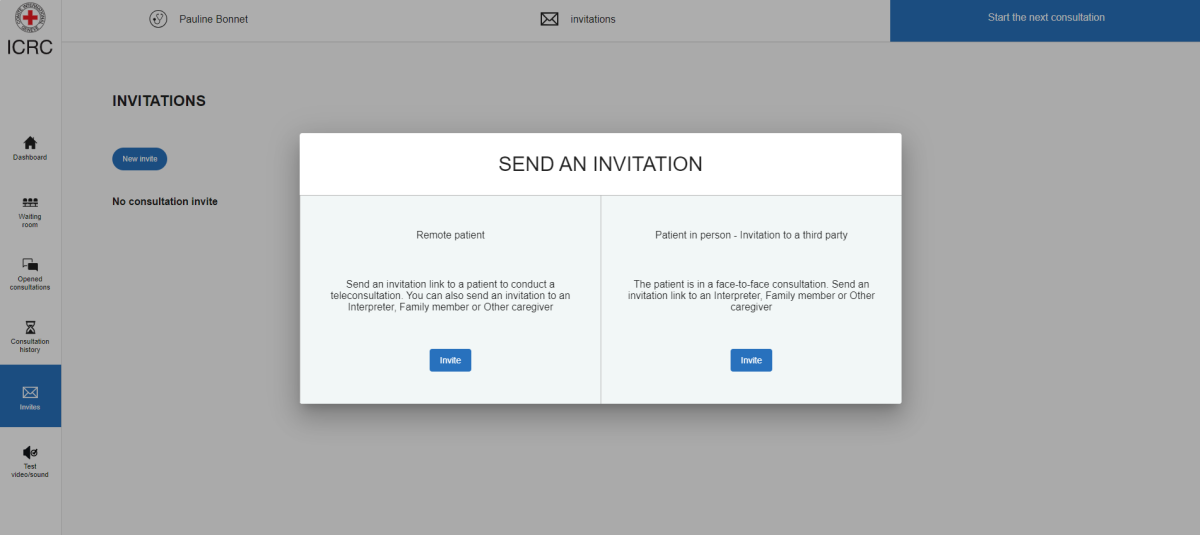
Note :
The other possibility "Service user in person" is meant to allow you to call a colleague while a Service User is next to you, and you need some advice. Which is a different use case.
Once you've clicked on the "invite" button under "Remote service user", you can fill in the form with person's information, and click on "send" to send the invitation (either by email or telephone, depending on the information you indicated in the form)
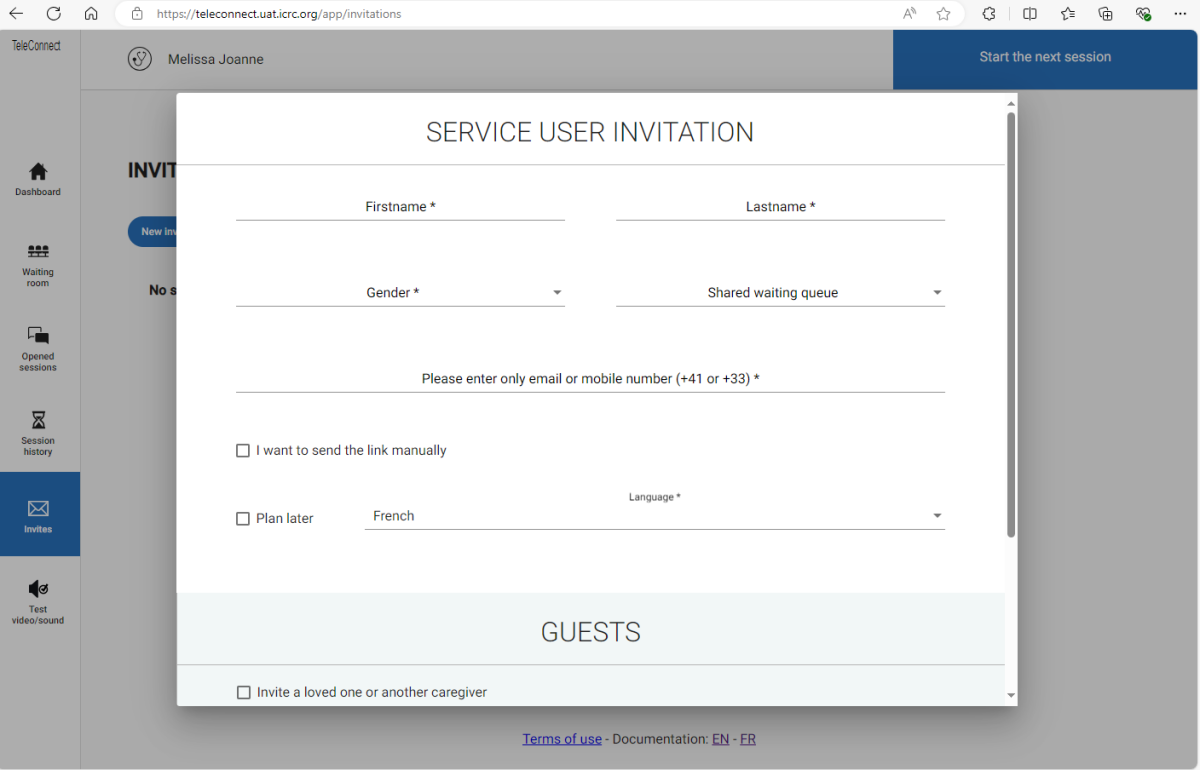
Tip :
Select the language of your Service User or colleague, for them to receive the email or What'sApp or SMS in their language
Your Service User or colleague has now received the invitation; You need them to connect to the link they received to be able to start the session in TeleConnect.
It is not possible to open the session before the person who received the invitation connects.
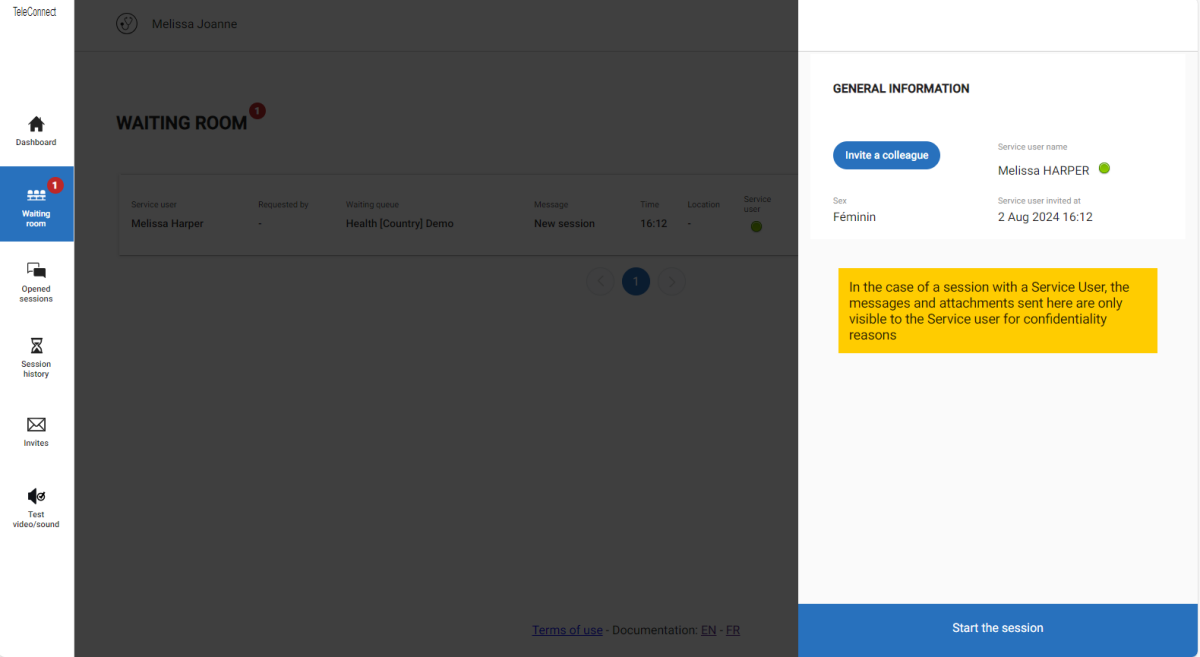
Once your Service User or colleague is online, you will receive a notification (sound ringing), and see them in the waiting room as below:

Step 3 : Connect to the session⚓
Once the other person has connected and you hear the notification, you go to the waiting room (if you are not there already), and click on "start next consultation". This is what you should see.
Click on start the session.
You can start using the chat function and send photos or PDFs via the chat input field without starting a video or audio call. Or you can start a call.
Step 4: End the session⚓
Make sure that any key points are recorded in the chat, for example in a health use case, the diagnosis recommendation or treatment recommendation if consulting with a specialist.
When you have finished the discussion, you click on "Terminate the session" and you can choose to :
a.) "Close" the case (where it is still possible to come back to the case up to 24h after, however all trace of the call will be deleted after 24h)
b.) "Terminate but keep opened" (where you can come back to the case later to send messages in the chat or make another call)
c.) Stay in the current session to resume the contact.
If you choose to close the case, you can download a pdf of the session (but only the start time and date and what has been written in the chat will be documented).